Bring in your case
Load the exported designs and their companion files. DentSolver checks the file set for the workflow you select.
CAD output
Dental manufacturing software
Meet DentSolver. Inspect, prepare, and review abutments and crowns before they reach your CAM workflow.
Built for dental laboratories and manufacturers.
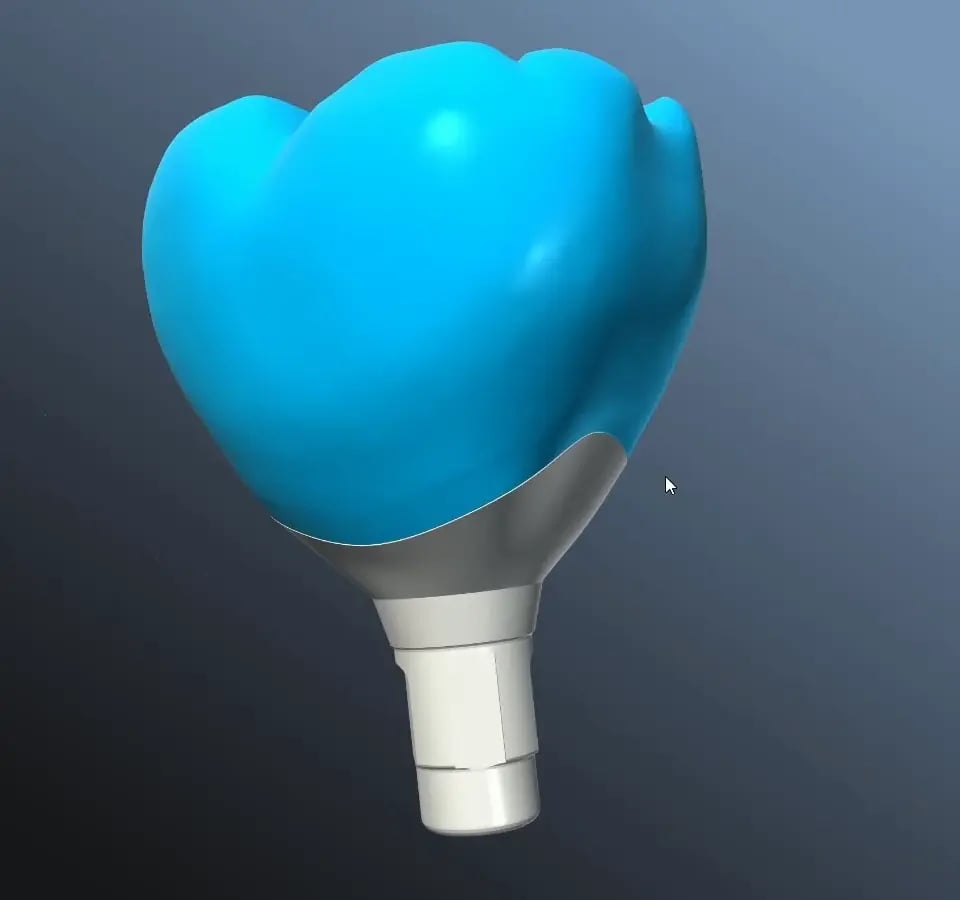
Start with the designs you already have.
01 / The platform
Your CAD software creates the design. DentSolver prepares its geometry for the next manufacturing stage, with a clear review before you accept the output.
Load the exported designs and their companion files. DentSolver checks the file set for the workflow you select.
CAD outputApply the available thickness, margin, edge, and channel options for your abutment, crown, or paired design.
DentSolver processingInspect the 3D result, choose the required variant, and send the accepted files to your configured mill folders.
Your CAM workflow02 / Workflows
Choose a workflow for the design you have. Keep its options, generated results, and final output together.
Abutment + coping / crown
CoDesign processes an existing abutment and coping/crown as one case. Compare the original, aligned, and updated designs before selecting your output.
Input Paired 3Shape or exocad designs with supporting case files.
Watch CoDesign in action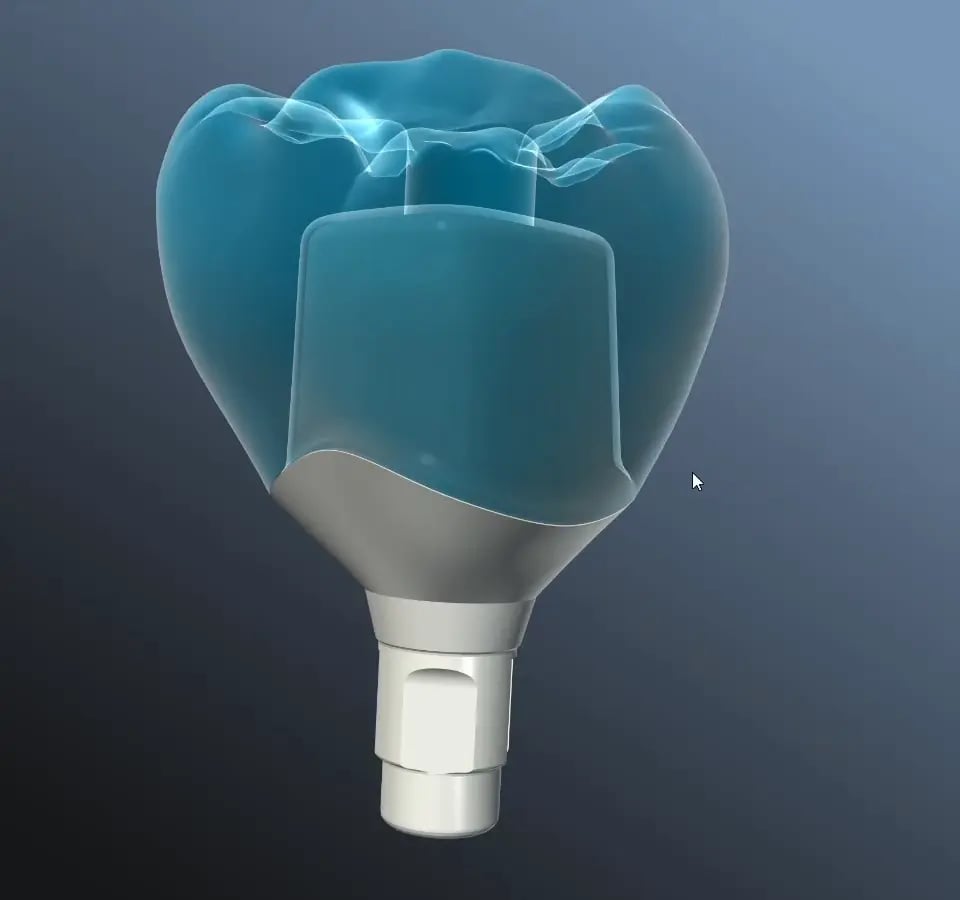
Individual abutments
Inspect and prepare an abutment before the next manufacturing stage. Select the available checks and geometry operations for the case.
Input One STL design, with an optional PTS or TXT margin curve.
Discuss your abutment workflow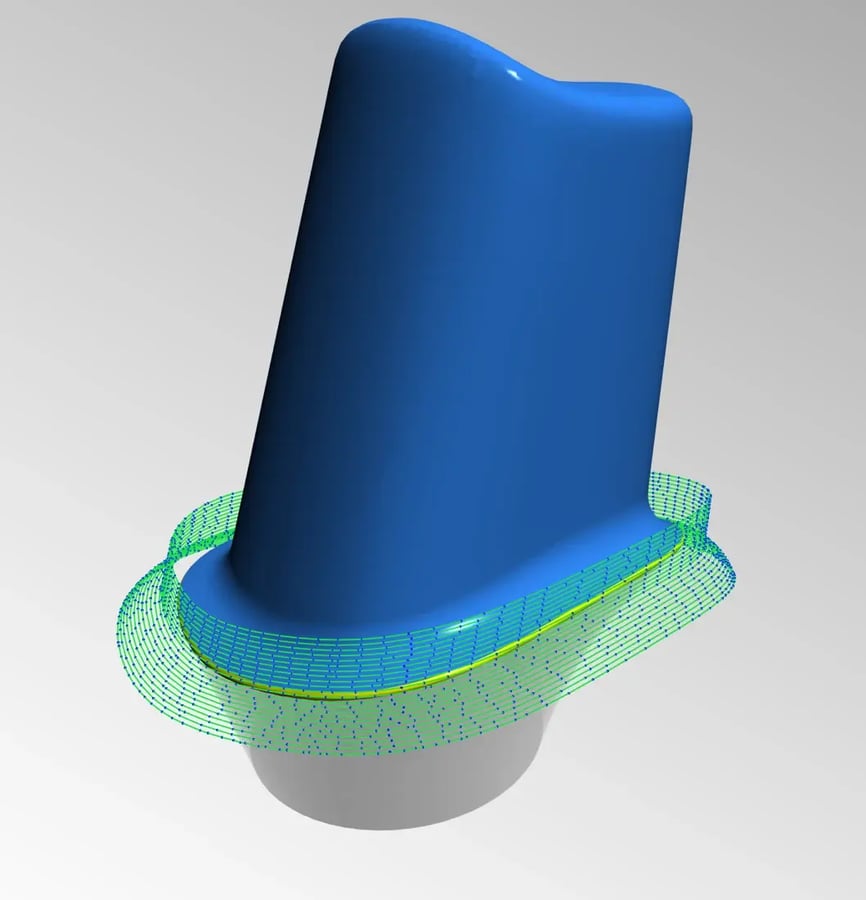
Individual restorations
Prepare an individual coping or crown with controls for the body, margin, and screw channel. Inspect the processed result and report before accepting it.
Input One STL design and one PTS or TXT margin curve.
Discuss your crown workflow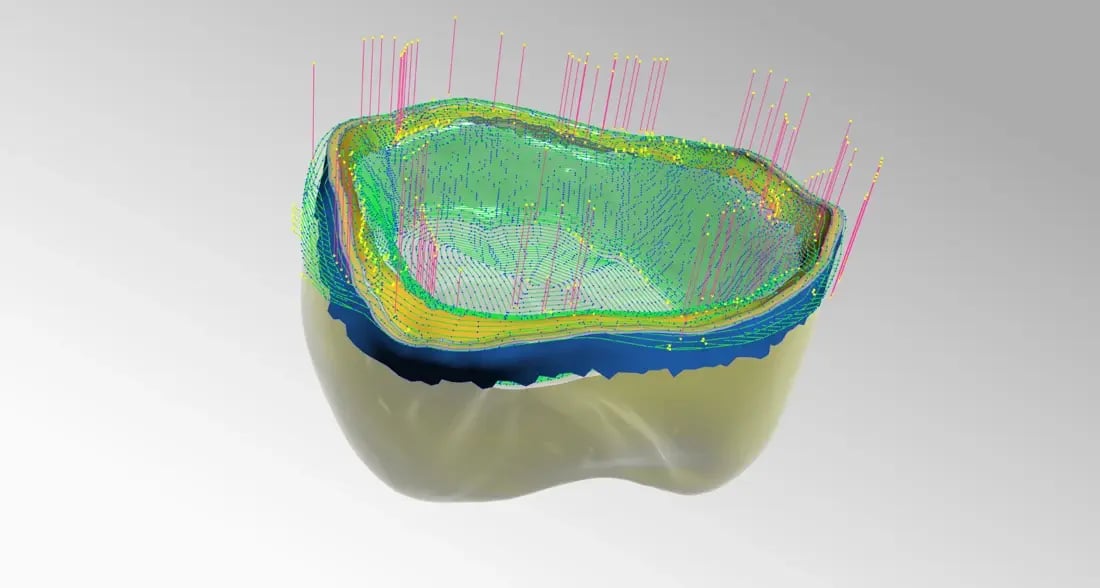
One-piece designs
SplitFiles separates a supported 3Shape one-piece design into an abutment for a pre-milled blank and a crown for zirconia manufacturing.
Input STL, XML, and matching PTS files. Available to authorized accounts.
Ask about SplitFiles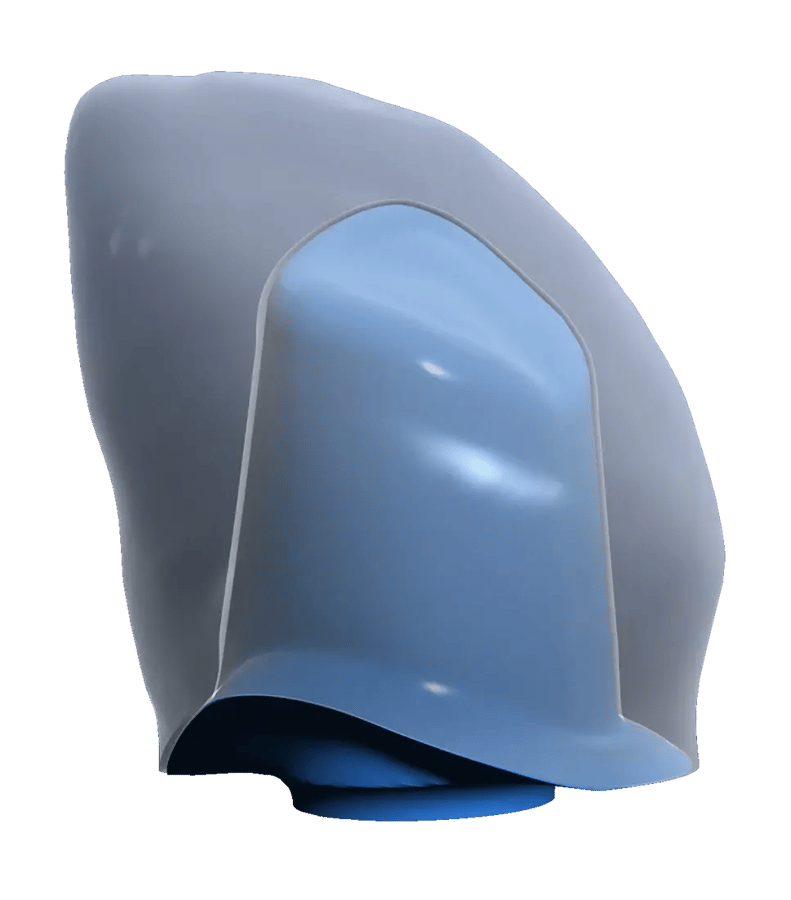
03 / See it in practice
Watch two CoDesign cases in a 2-minute 21-second walkthrough. Follow the case setup, compare the generated views, and inspect the geometry in detail.
DentSolver CoDesign 2 min 21 sec
Open full video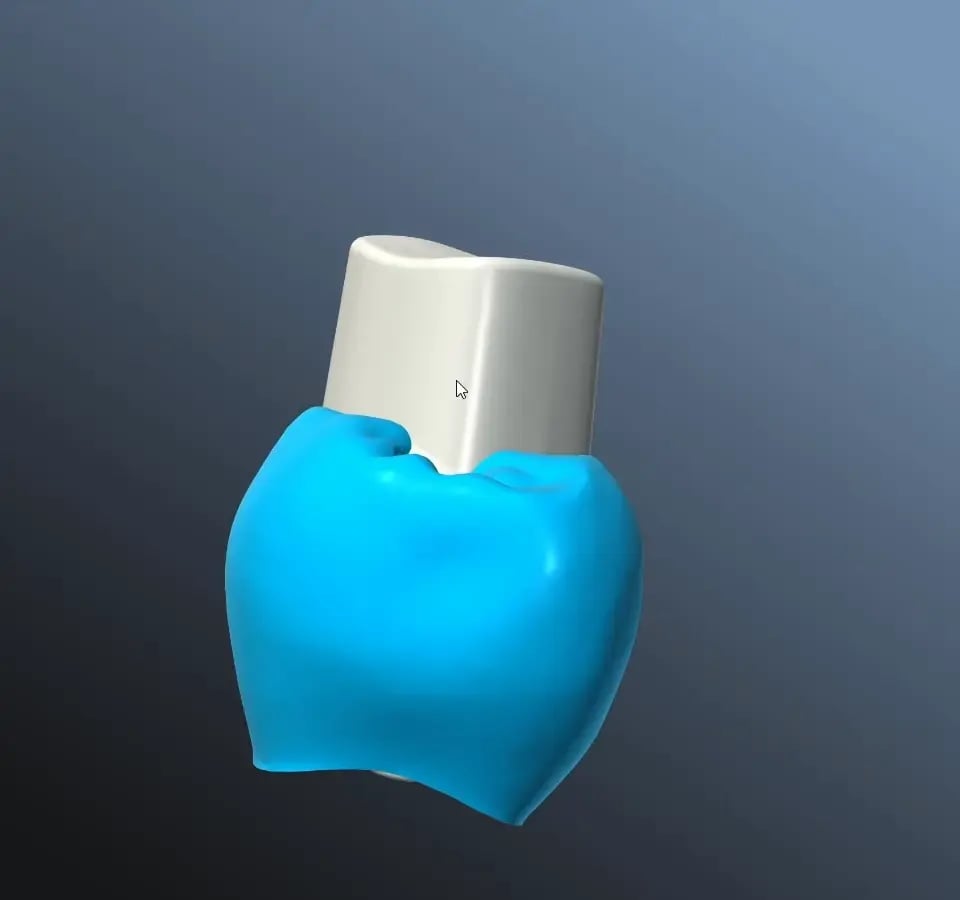
Inspect the original components in their aligned position.
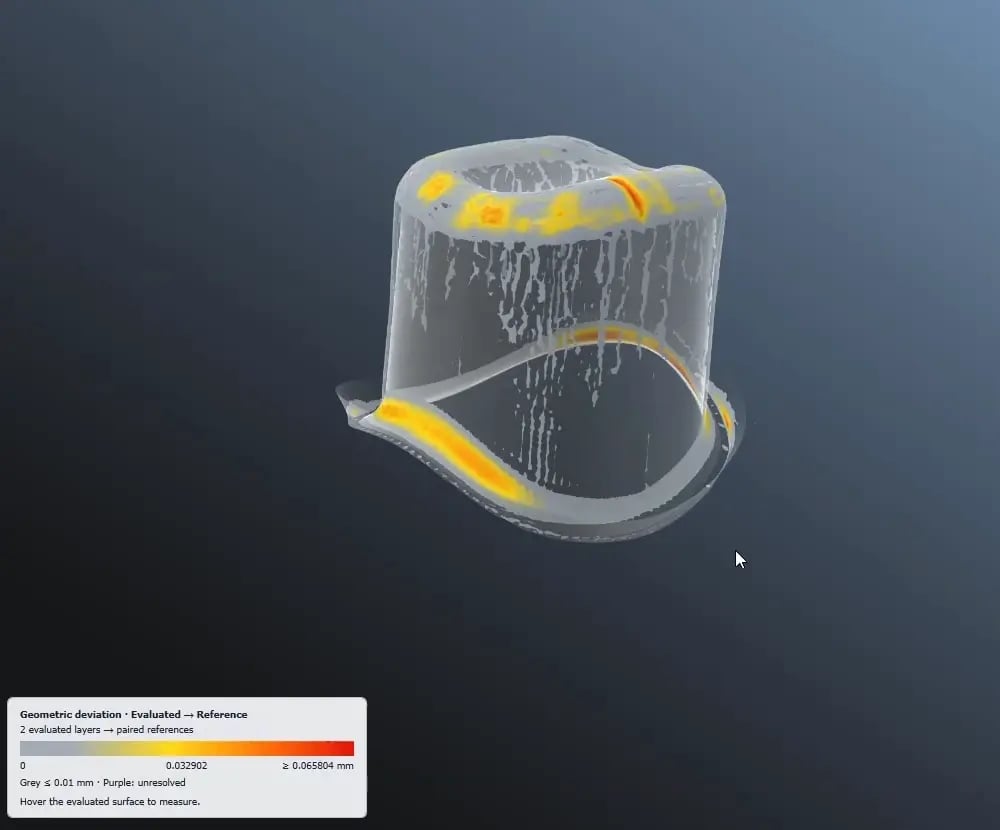
Use the comparison view to inspect the evaluated geometry.
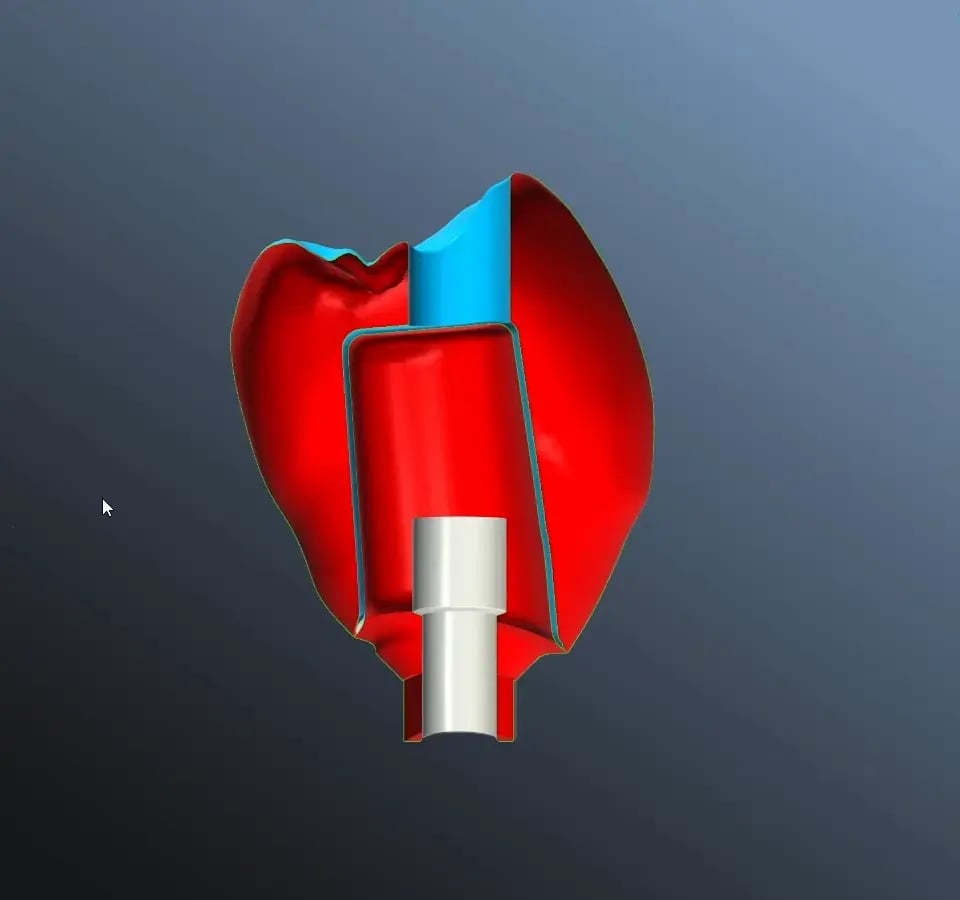
Examine the internal relationship between the components.
04 / Getting started
DentSolver helps dental laboratories and manufacturers prepare existing dental CAD designs for production. You import a case, choose the preparation options, process the geometry, review the result in 3D, and accept the output for delivery to your configured manufacturing folders. This guide explains the main workflows and how to complete a first case.
DentSolver sits between dental design and manufacturing preparation. It works with exported design files and supporting case data. Its tools inspect geometry and apply workflow-specific changes, such as margin preparation, edge rounding, screw-channel options, and separating a one-piece design into an abutment and crown. The accepted files then continue into your laboratory's CAM and manufacturing workflow.
Use Abutment to inspect and prepare an abutment design. Available options include overall thickness and angle checks, creating or checking the margin curve, rounding the margin edge, and creating split surfaces. Review the processed model and process report before accepting the result.
Use Coping/Crown for an individual coping or crown. Options cover body and margin thickness checks, margin width or thickness adjustment, inner and outer edge rounding, and allowing a screw channel. This workflow prepares the individual restoration for the next manufacturing stage.
Use CoDesign when you already have separate abutment and coping/crown designs for the same case. It processes the pair together and provides Original, Original Aligned, and Updated Design views. The result controls let you select available channel, margin-rounding, and outer-margin morph options before exporting the two components.
Use [PDL] SplitFiles to separate a supported 3Shape one-piece design into an abutment for a pre-milled blank and a crown for zirconia manufacturing. Review the generated alternatives and choose the required crown channel option. SplitFiles requires an authorized account; BridgeSplit and BridgeTR are currently disabled.
Keep each case's design and companion files together. Choose the workflow that matches your export, then add the required files shown below. The application checks the file set before processing.
| Workflow | Files to prepare |
|---|---|
| Abutment | Exactly one STL design. One PTS or TXT margin curve may also be supplied. |
| Coping/ | Exactly one STL design and one PTS or TXT margin curve. |
| CoDesign | 3Shape: two STL designs and two margin curves, with XML when needed for an angled screw channel. Exocad: two STL designs and one .constructionInfo file. |
| [PDL] SplitFiles | One STL, one XML, and a PTS file with the same base filename as the STL. Keep any additional companion PTS files with the case. |
STL files contain the 3D geometry. Margin curves identify the restoration boundary; XML and .constructionInfo files provide supporting case information. Preserve the original export filenames so related files can be matched correctly.
Open USER, choose USER LOGIN, and sign in. In USER SETTINGS, confirm the working and incoming-case folders. In the chosen workflow's options or settings, confirm the destination mill folder or folders. CoDesign and SplitFiles use separate destinations for the abutment and coping/crown outputs.
Open CASE and select the workflow. Choose ADD FILES or drag the case files or folder into the drop area. Check the file summary and resolve missing or unexpected files before continuing. Use RESET / CLEAR when you need to start with a different input set.
Open the workflow's OPTIONS or SETTINGS panel, review the controls, and choose APPLY & CLOSE. Select PROCESS CASE and wait for processing to finish. If the case fails, read the status or process output and correct the input or configuration before trying again.
Processing opens the result review when usable output is available. Inspect the generated model and read the process report or process information where provided. Use Show, Transparent, and Hide to inspect components separately or together. When several generated alternatives are available, select the one you intend to accept.
Switch between Original, Original Aligned, and Updated Design to understand how the prepared pair differs from the imported geometry. Section View helps you inspect the internal relationship between components. Use the available Coping/Crown Channel, Abutment Margin Edge, and Outer Margin Morph controls to choose the generated variant required for the case.
Display controls change how you inspect the model. Output-selection controls, such as a crown with or without a channel and the CoDesign margin options, determine which generated files are delivered. Check those choices before accepting.
Choose ACCEPT GENERATION when you have reviewed the result and selected the intended output. DentSolver prepares and copies the manufacturing files to the configured mill folders. A successful acceptance also records the completed order or orders and consumes the applicable product tokens. Check the completion message and the destination files before continuing in your CAM software.
For CoDesign cases imported from Exocad, CODESIGN SETTINGS offers Native Exocad or 3Shape-compatible mill export. Select the format your receiving workflow expects. The abutment and coping/crown are delivered to their respective destinations with the supported companion data.
Abutment, Coping/Crown, and SplitFiles provide LOAD CASE for supported saved results. When an already accepted case is loaded, the primary action changes to SEND TO MILL FOLDERS so you can deliver the selected output again without creating another order or consuming additional tokens for that resend.
In USER, the account summary shows the token information. VIEW ORDERS lets you review order history, refresh the list, and export it as CSV. Use CONTACT SUPPORT if a problem persists; the support panel helps you describe the issue and copy diagnostic information.
For configured production workflows, DentSolver.Auto can run a product configuration against supplied case files or folders without the interactive case sequence. Each invocation handles one run and writes logs and a success receipt when completed. This is a separate setup path for laboratories connecting DentSolver to an existing automation process.
05 / The people behind DentSolv
Our founders bring experience in dental software, manufacturing automation, and building software businesses.

Manufacturing software and product leadership.

Dental software development and automation architecture.

Digital manufacturing, software, and operations.
Let's look at your workflow
Talk with our team about your designs, manufacturing process, and the right workflow for your lab.